You’ve written a clear set of instructions for replacing a faucet washer, building a bookshelf, or repotting a plant. And yet the comments still say, “Can you show me?” Some tasks just make more sense when you watch them. With AI video generator, you can turn those written steps into short visual tutorials without a camera, a workshop, or an editing suite. Dreamina, powered by Seedance 2.5, reads your description and returns a clip that walks through the action. Here’s how to turn a how-to article into a video people can follow. It’s a good option for bloggers, shop owners, and teachers alike.
Why people watch before they try
Hands-on projects come with a lot of small questions. Which way do I turn it? How tight is tight enough? What does a good result look like? A short clip answers all of that at a glance. Video also reduces mistakes, because viewers can see the sequence instead of imagining it from a list. Even a rough visual guide makes your written instructions feel more approachable, especially for beginners who aren’t sure they can do the job. People also share how-to videos more often than written steps, which helps your project reach new readers.
Breaking instructions into shots
Go through your written steps and pull out the visual moments:
- The setup: tools and materials laid out on a surface
- The key action: the single motion that matters most, like tightening or sanding
- The detail shot: a close-up of the tricky part
- The check: how to tell the step worked
- The finished result: the object, complete and in use
Each of these can be its own short clip. Three to five clips cover most beginner projects.
What Seedance 2.5 does for how-to content
Tutorials depend on clear, repeatable motion, and a few Seedance 2.5 abilities help.
Reference control for exact hand placement
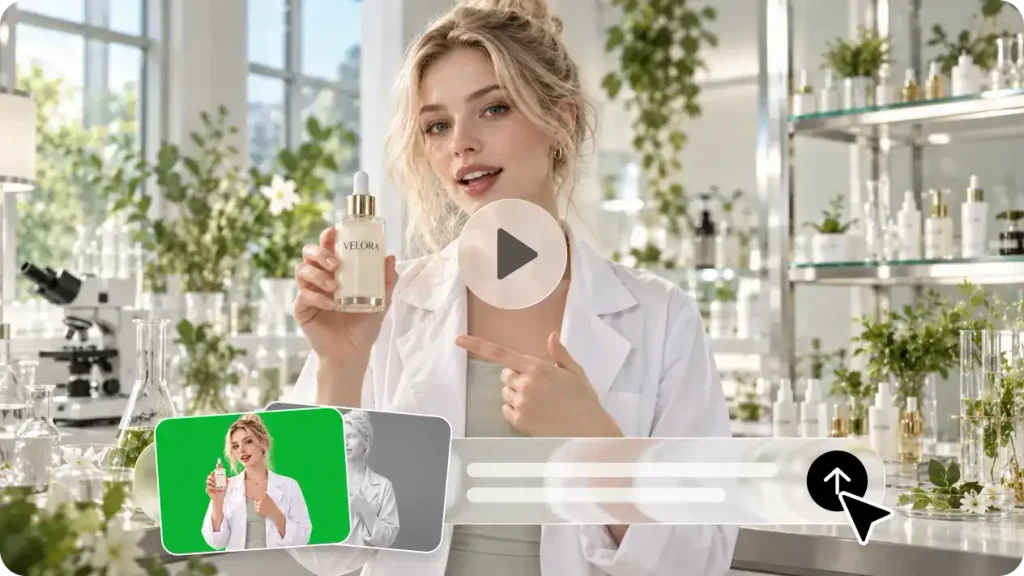
Green screen and blockout-style references can guide where hands touch an object and how a movement unfolds, which keeps a tutorial accurate. Precision matters most when a tool needs to be held a certain way.
Fixes without a full redo
If one detail is wrong, like an extra tool in the frame, region-level editing removes it without regenerating everything. It saves time when only one frame needs help.
Room for a complete step
Clips reach 30 seconds, and the ultra-long beta stretches to 180 seconds, so a whole process can play without awkward cuts. That’s useful for slow tasks like waiting for glue to set.
Clean footage for your own narration
Stray subtitles and random background music are filtered out of base clips, leaving a quiet canvas for your own voiceover. Add your voice later and the result sounds like you.
Build the tutorial in three Dreamina steps
Step 1: Write your prompt
Go to Dreamina, log in, and then go to AI Video. Formulate a prompt based on the instruction step, emphasizing the tool names, action, and location. Here is an example of a 30-second DIY tutorial clip prompt: “Clear 30-second DIY tutorial clip: Hands sanding wooden shelf using fine sandpaper, smooth movements, removal of wood dust, workbench is clean with a pencil and measuring tape. Bright workshop environment, overhead camera shot, natural colors.”
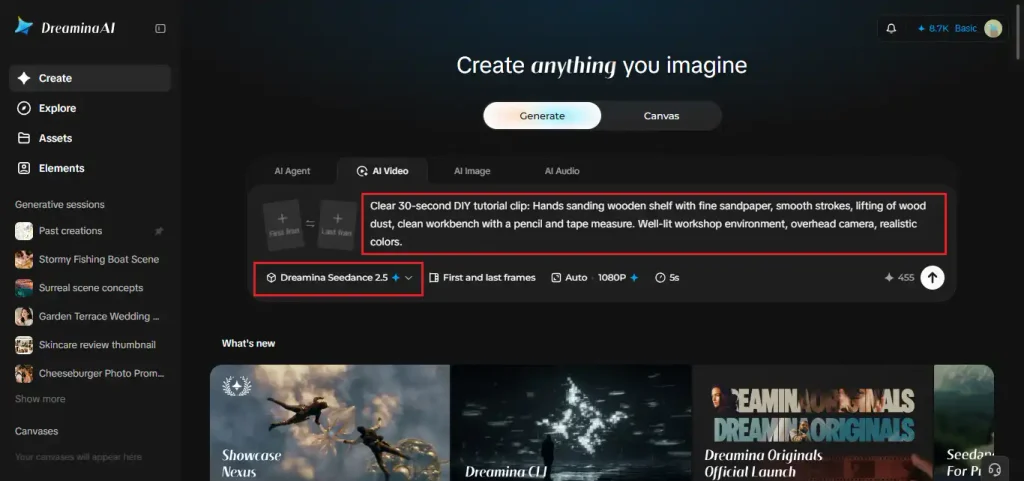
Step 2: Generate your video
Choose Seedance 2.5, set video length, and pick aspect ratio – 16:9 for YouTube or 9:16 for TikTok. Click Dreamina logo and wait till the clip is generated. Overhead view works well with tabletop DIY clips.
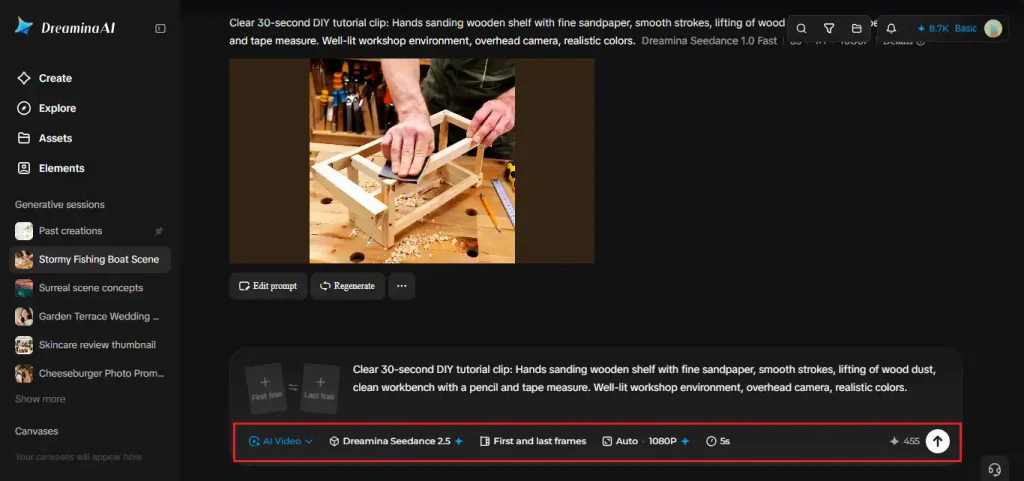
Step 3: Enhance and export
Finish the video using Dreamina AI editors. Upscale option provides you with sharper images, while Generate soundtrack adds light sound effects. Export and share the clip. If there are issues with hands in the video, try simplifying the action and generating another clip.
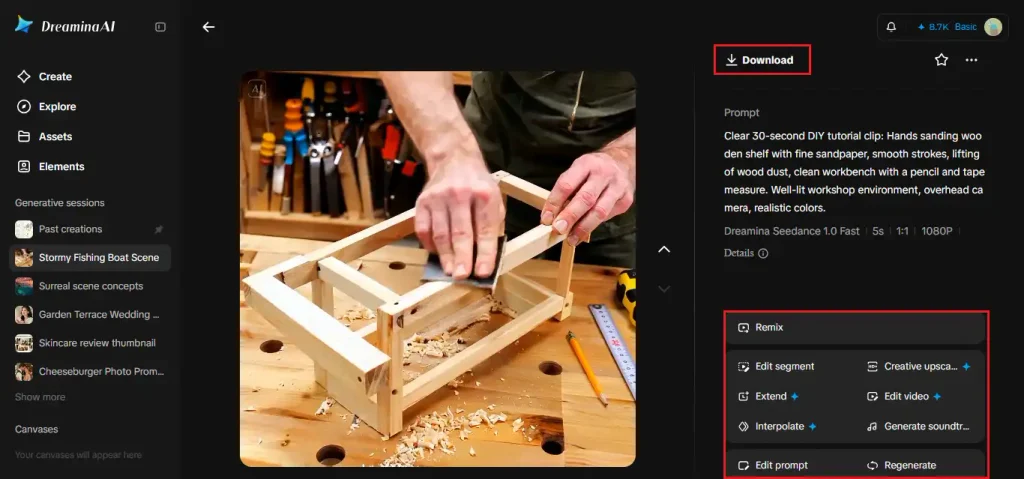
One step, one clip
Don’t try to fit an entire project into one prompt. Give each step its own clip and keep the camera angle consistent across them. That makes the tutorial easier to follow and easier to fix, since you only regenerate the step that went wrong. Name clips in order, like “step 1 prep” and “step 2 sanding,” so editing later is simple. Short, focused clips are also easier for viewers to rewatch. If two clips don’t match in style, add the same lighting words to both prompts.
Safety comes first
Generated clips are visual aids, not a replacement for sound judgment. Show safety gear whenever it matters, such as gloves, goggles, or a dust mask, and mention it in your prompt. If your project involves electricity, gas, or heavy tools, keep your written warnings front and center. Never let a polished video imply a risky shortcut is safe. When in doubt, tell viewers to consult a professional. A short disclaimer in the video description is a good habit too.
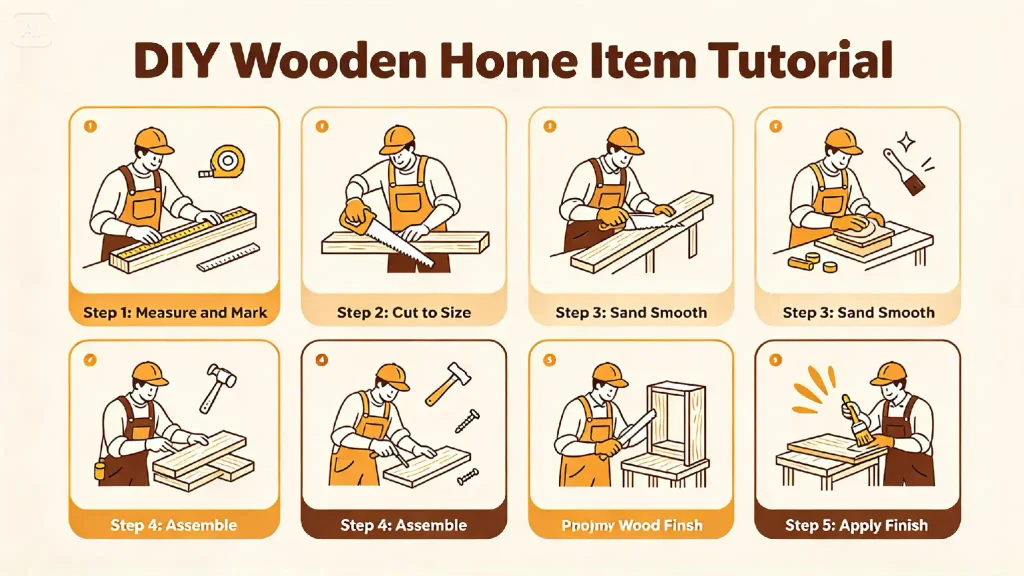
Adding voice and captions
A tutorial gets much better with explanation. Record a short voiceover for each clip, or use captions to spell out key points like measurements and warnings. Keep the language plain and the sentences short. Pairing a quiet soundtrack with clear narration makes the steps easier to follow, and captions help viewers who watch with the sound off. Review the final video once from start to finish to catch any mismatch between words and visuals. Ask a friend to try the steps from your video alone. Wherever they get stuck is where it needs work.
Show them how
Written instructions tell people what to do, and video shows them how. Dreamina and Seedance 2.5 make the jump from article to tutorial surprisingly quick. Pick one step from your favorite how-to, write a focused prompt, and see how it looks. Your readers have been asking for a demonstration. Start with the step people ask about most.